Dev Boards
ESP-12F ESP8266 Node MCU
৳500
- Fresh, latest-batch stock — never old shelf stock
- Tested before it ships
- Arrives dead? We replace it
- Same-day delivery in Dhaka · Cash on Delivery nationwide
- See it before you buy: visit our shop at Ansar Ali Sarak, Boat Ghat, East Nurer Chala, Vatara
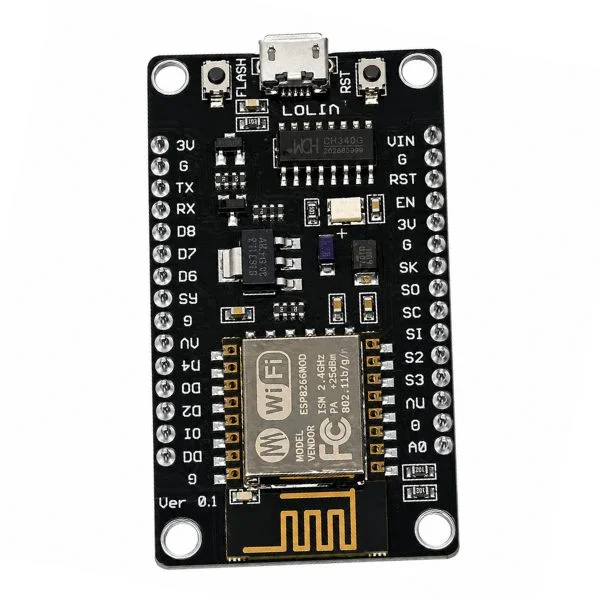
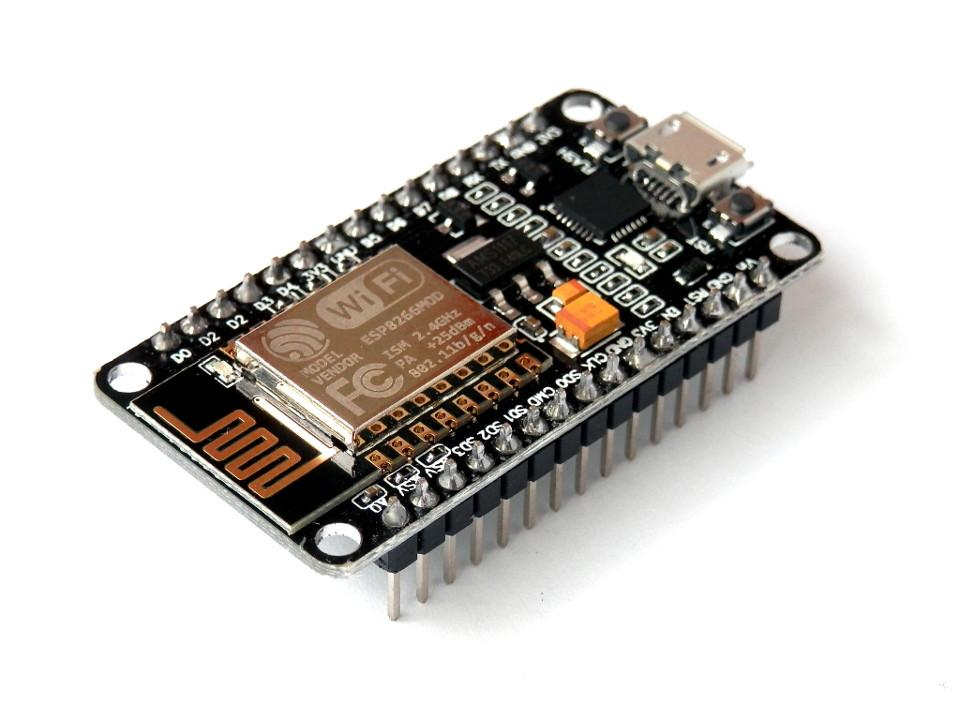
The ESP-12F ESP8266 Node MCU is a WiFi development board built around the ESP-12F module, the 4 MB flash revision of the ESP8266, with a micro-USB port and every pin broken out to 2.54 mm headers.
It is the board behind most budget IoT builds: web-controlled relays, MQTT sensor nodes, Blynk dashboards, WiFi weather stations, water pump timers. Program it from the Arduino IDE, script it with NodeMCU Lua, or run MicroPython over the same USB cable.
- 32-bit Tensilica core up to 160 MHz, 802.11 b/g/n 2.4 GHz WiFi
- 4 MB SPI flash, 11 usable GPIO, one 10-bit analog input on A0
- CH340G USB-serial and an onboard 3.3 V regulator, so micro-USB is all you need
- Deep sleep around 10-20 microamps for battery sensor nodes
One habit worth learning early: D3, D4 and D8 are boot-strapping pins, so keep sensors off them and put I2C on D1 and D2.
Not sure it will work? Test your circuit free in Tekko Sim — on your phone, in Bangla or English.
| Category | Dev Boards |
| Model no. | ESP8266-12F |
| Availability | In stock |
| In stock | 3 pcs |
| Delivery | Cash on Delivery, nationwide Bangladesh |
| Module | ESP-12F WiFi SoC (ESP8266EX), 4 MB flash revision |
| CPU | 32-bit Tensilica L106, 80-160 MHz |
| WiFi | 802.11 b/g/n, 2.4 GHz, station / soft-AP / station+AP modes |
| Flash Memory | 4 MB SPI flash |
| SRAM | approx 160 KB (roughly 50-80 KB usable by sketches) |
| GPIO | 11 digital pins (D0-D8 plus RX/TX), 3.3V logic level |
| Analog Input | 1 channel, 10-bit ADC on A0 (0-3.3V range via onboard divider) |
| USB Bridge | CH340G USB-to-UART converter |
| Power Input | 5V via micro-USB port or approx 5V on the Vin pin |
| Regulator | AMS1117 3.3V LDO on board |
| Operating Current | approx 80 mA average, peaks near 170 mA during WiFi transmit |
| Deep Sleep Current | approx 10-20 microamp |
| Programming | Arduino IDE (ESP8266 core), NodeMCU Lua, MicroPython |
| Board Size | approx 58 x 31 x 13 mm, 30 pins at 2.54 mm pitch |
Customer reviews
No reviews yet — be the first.
Questions about the ESP-12F ESP8266 Node MCU
How do I program it for the first time?
Install the CH340 driver, add the ESP8266 board package to the Arduino IDE, pick NodeMCU 1.0 (ESP-12E module) as the board, select the correct COM port and upload. The onboard USB serial handles flashing automatically.
Which GPIO pins can I use freely in my project?
D1, D2, D5, D6 and D7 are the safest. D3, D4 and D8 are boot-strapping pins; keep them HIGH or floating at power-up or the board will not boot, and D4 also drives the onboard LED.
Can it run on battery power?
Yes. Feed about 5V into the Vin pin from a battery or boost converter and use deep sleep between readings; a sensor node that wakes every few minutes can run for weeks on a small Li-ion cell.
How is it different from an ESP32 board?
The ESP8266 has one core, one analog input, no Bluetooth and fewer GPIO, but it handles simple WiFi tasks easily. Pick ESP32 when you need Bluetooth, more pins, more ADC channels or two cores.
নতুন শিক্ষার্থীদের জন্য কোন প্রজেক্ট দিয়ে শুরু করা ভালো?
প্রথমে DHT22 তাপমাত্রা সেন্সরের ডেটা Blynk অ্যাপে দেখানো, তারপর মোবাইল দিয়ে লাইট অন-অফ করার ওয়েব রিলে, এরপর চাইলে WiFi ওয়েদার স্টেশন। ধাপে ধাপে এগোলে শেখাও সহজ হয়।
ESP-12F Node MCU বোর্ডের দাম কত?
এই পেজের ওপরেই বর্তমান দাম দেওয়া আছে; Contact for price দেখালে WhatsApp-এ মেসেজ দিলে আজকের রেট জানিয়ে দেওয়া হবে।
More in Dev Boards
All dev boards →