Arduino Uno: Pins, Specs, and When Nano or Mega Wins
What the Arduino Uno gives you, what each pin does, and when a Nano or Mega is the better buy. Specs set against Nano Every, Due and Digispark.
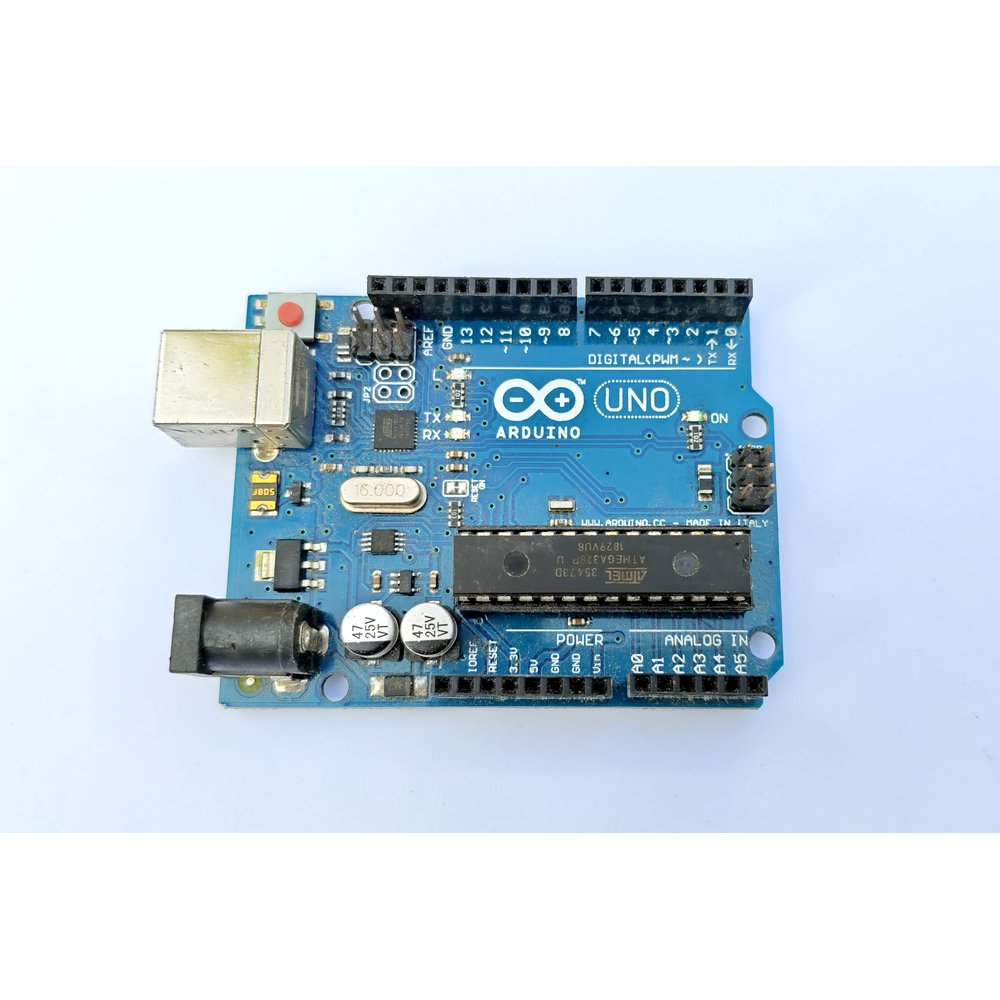
Students walk into the shop and ask the same thing: which Arduino? For a first board, buy the Arduino Uno. It is not the most powerful one. It wins because every tutorial, library example and school lab is written for it, so when you get stuck, the fix is easy to find.
This page covers what the Uno has, what its pins do, and the cases where a Nano or Mega is the better buy. The chips differ but the language and the IDE are the same, so code you write on one usually runs on the others.
The Arduino Uno at a glance
| Spec | Value |
|---|---|
| Chip | ATmega328P, 16 MHz |
| Flash / RAM | 32 KB / 2 KB |
| Logic level | 5V |
| Digital pins | 14 (6 of them PWM) |
| Analog inputs | 6 (A0–A5) |
| Power | USB, or 7–12V on the barrel jack (Arduino's recommendation) |
| Current per pin | keep it under 20 mA |

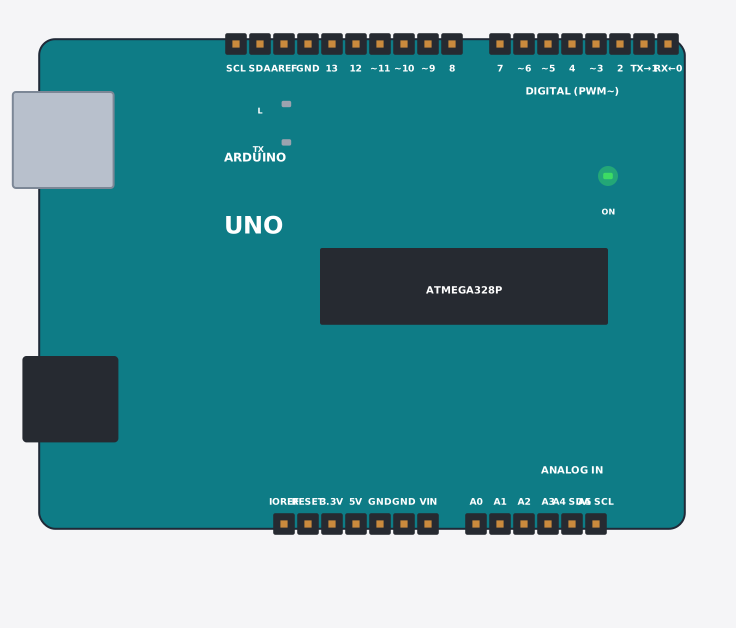
Uno pins: what each one does
- 0, 1 — Serial. Shared with USB, so a wire left here can block uploads.
- 2, 3 — interrupt pins.
- 3, 5, 6, 9, 10, 11 — PWM, the only pins where
analogWrite()works. - 10–13 — SPI. A4, A5 — I2C (OLED displays, RTC modules).
- 13 — the LED on the board. Your first Blink uses it.
Uno, Nano, Mega and the rest
| Board | Chip | Flash | RAM | Pins | Logic | Best for |
|---|---|---|---|---|---|---|
| Uno R3 | ATmega328P, 16 MHz | 32 KB | 2 KB | 14+6 | 5V | learning, science fairs |
| Nano | ATmega328P, 16 MHz | 32 KB | 2 KB | 14+8 | 5V | breadboards, small builds |
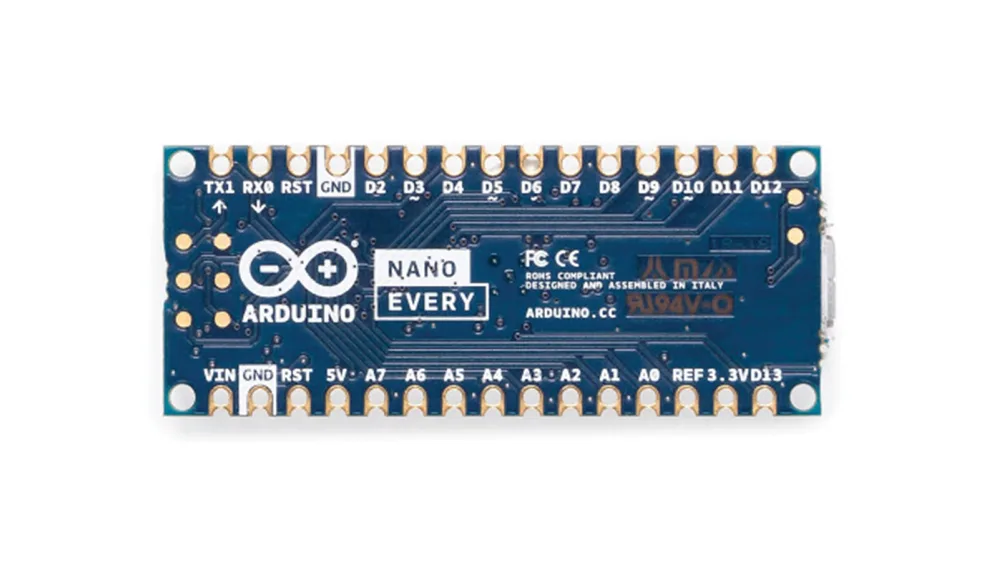
| Nano Every | ATmega4809 | 48 KB | 6 KB | 14+8 | 5V | Nano size, more memory |
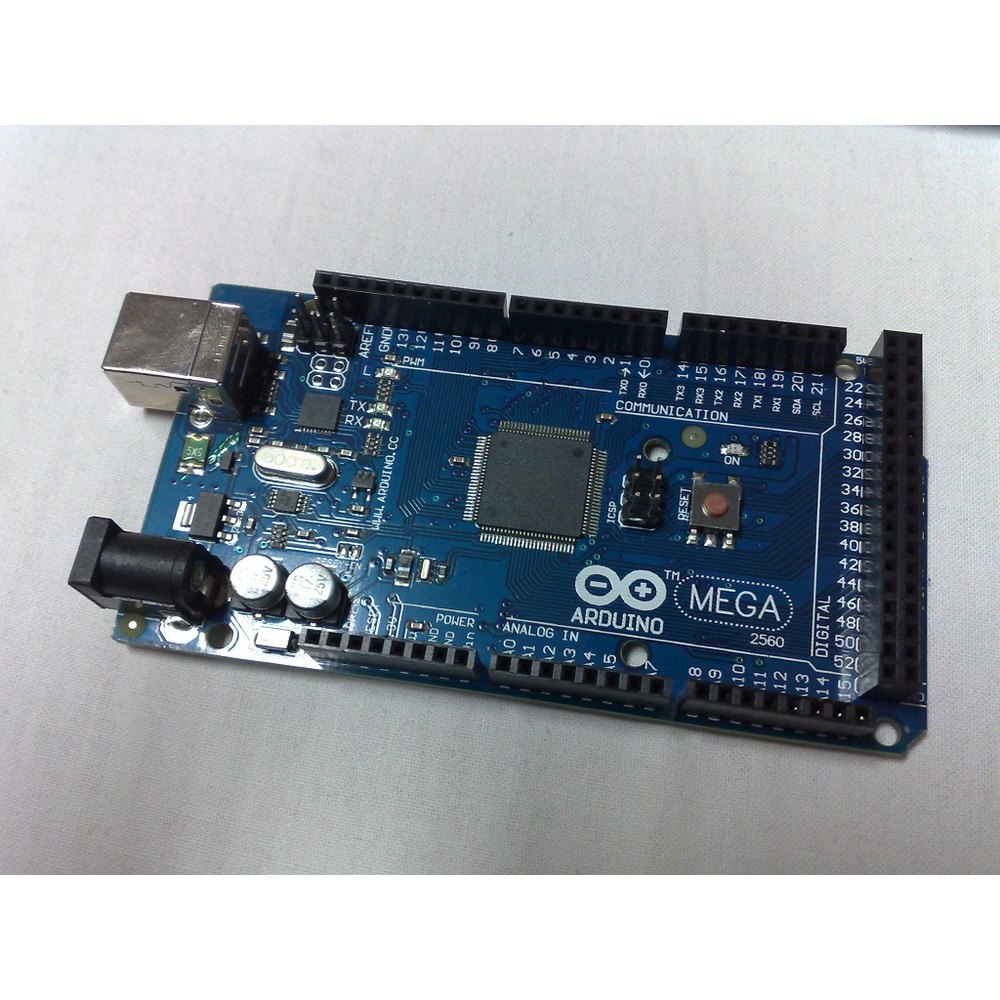
| Mega 2560 | ATmega2560, 16 MHz | 256 KB | 8 KB | 54+16 | 5V | many servos/sensors |
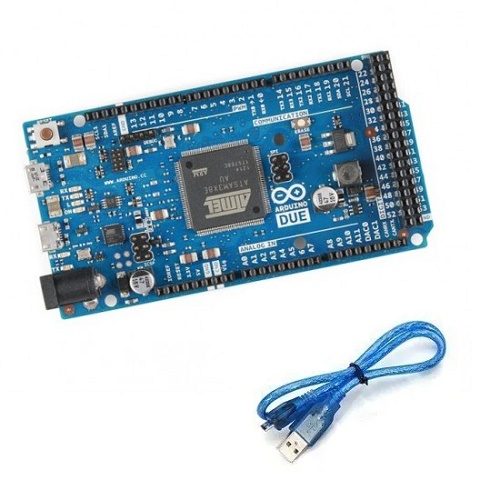
| Due | SAM3X8E ARM, 84 MHz | 512 KB | 96 KB | 54+12 | 3.3V ⚠ | fast math, audio |
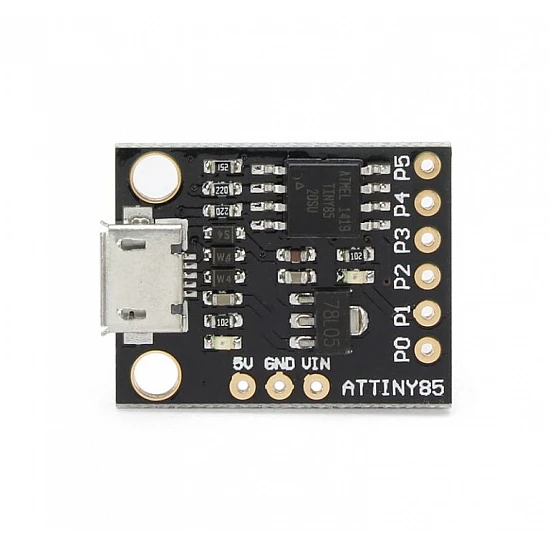
| ATtiny85 Digispark | ATtiny85 | 8 KB | 512 B | 6 | 5V | one-job gadgets |
Which one, when
Uno R3: the default. Shields plug straight in, logic is 5V, jumpers push into the sockets easily. If you only get to build one project, buy the Uno and stop deliberating.
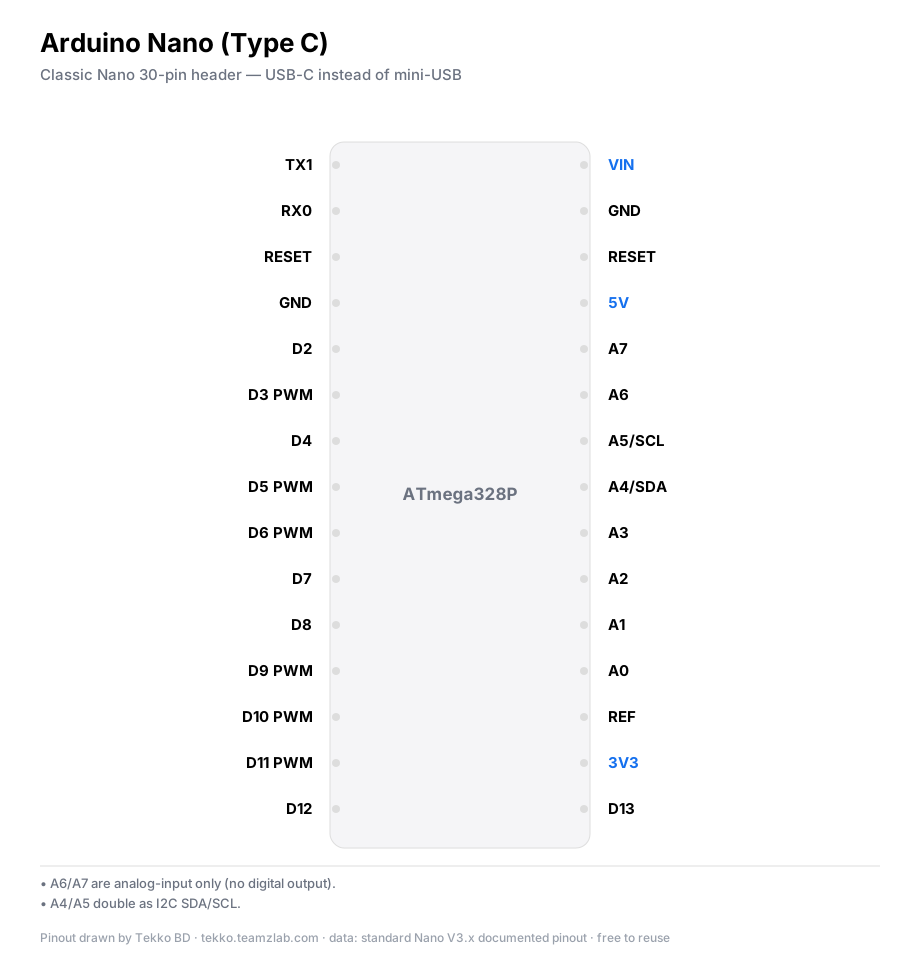
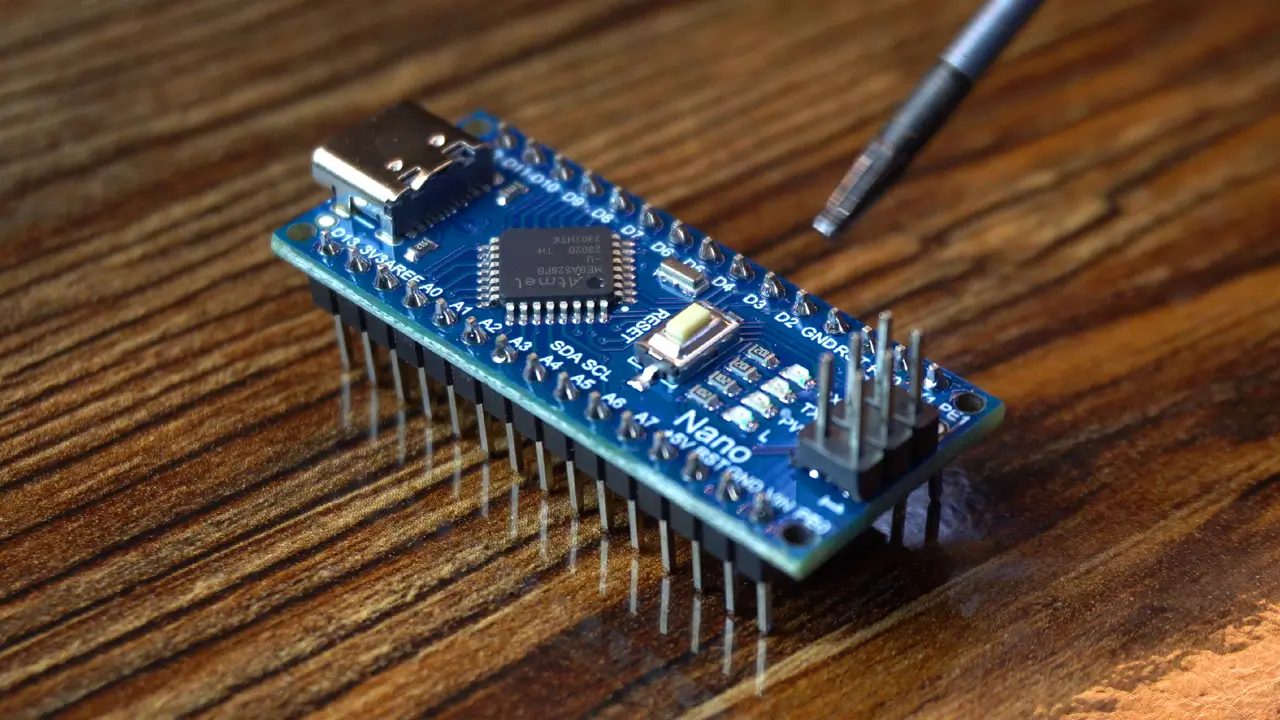
Nano: a smaller Uno. Same chip, same code, but it takes less room and sits straight in a breadboard. Build on the Uno, and move to the Nano when the finished project has to fit a small box. Tekko stocks two kinds: CH340 (needs a driver) and FTDI.
Nano Every: same size, more memory. RAM goes from 2 KB to 6 KB and flash from 32 to 48 KB. Look at it when a sketch or library no longer fits on the Nano.
Mega 2560: the pin vault. 54 digital pins and 16 analog. Many servos, a few displays, a crowd of sensors: when you run out of pins, buy a Mega. Do not buy it in advance. Most school projects never need that many pins.
Due: one warning. An 84 MHz ARM core, good for audio and fast signal work, but its logic is 3.3V. Wire a 5V sensor signal straight in and you can kill the pin. Not a beginner's board.
ATtiny85 Digispark: the smallest. Six I/O lines, 8 KB flash. One LED, one button, one sensor, a one-job gadget. It programs over USB with no separate programmer.
Tip
My suggestion: first board Uno R3. Second board depends on the project: Nano to shrink it, Mega to grow it. Science fair marks go to a working project, not to the name on the board.
Verify it works
With any new board, upload Blink first:
void setup() { pinMode(LED_BUILTIN, OUTPUT); }
void loop() {
  digitalWrite(LED_BUILTIN, HIGH); delay(500);
  digitalWrite(LED_BUILTIN, LOW);  delay(500);
}
LED_BUILTIN points at the onboard LED on every board, so the same code runs on the Uno, Nano and Mega. If it blinks, the board, the IDE and the driver are all fine.
Common problems
- CH340 Nano not detected — install the CH340 USB driver (the FTDI kind needs none). If no port shows in Device Manager, this is why.
- A Due pin died after a 5V sensor — the Due is 3.3V logic. Use a level shifter before any 5V signal.
- Upload says "not in sync" — wrong board or port picked. Recheck Tools → Board and Tools → Port.
- Bought a Mega, the project ran fine on an Uno — ordinary projects do not need the extra pins. Buy a Mega when pins actually run out.
FAQ
Original Uno or clone? For learning there is almost no difference. The gap is usually the USB chip and the grade of components.
ESP32 or Arduino first? Learn on an Uno or Nano: simpler, and the documentation is huge. Move to an ESP32 when you need Wi-Fi or Bluetooth. It also programs from the Arduino IDE.
How many servos can one board run? The Uno has enough digital pins to signal many, but it cannot power them (see the power note in the SG90 guide). Six or more servos need a separate 5V supply, no exceptions.
More from Tekko
- Dev boards category — all six boards in one place
- Starter kit — board and components together
- Sensors category for first-project parts
Sources
- Arduino official docs — docs.arduino.cc
Prices can change; check Tekko for the latest.
Try it free before you buy
This project runs free in Tekko Sim, right in your browser — before you spend a taka.
LED Blink Arduino — Run in Sim