Arduino Simulator Free: Run Projects in Your Browser
What an Arduino simulator is, when it is enough, when you need a real board, and how to run a project free in Tekko Sim, in Bangla or English.
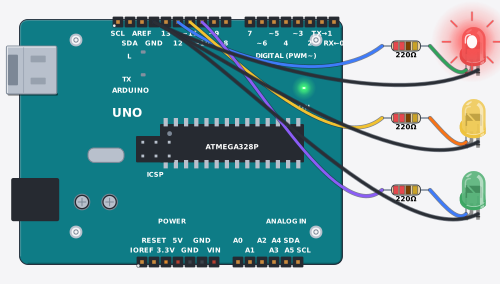
Maybe you do not own a board yet. Or you do, and you are afraid one reversed wire will cook it. An Arduino simulator fits both cases: you drop virtual parts on a virtual breadboard in your browser, write code, and press run. Nothing burns. This guide is blunt about where a simulator is enough, where only real hardware will do, and how to run your first project in Tekko Sim.
What you need
For the simulator:
- A phone or laptop with a browser
- An internet connection (to open it the first time)
Tekko Sim on the website is free, with no sign-up. When you move to real hardware later you will want the parts below, shown as cards:
- Arduino Uno R3 and a USB cable
- Breadboard and jumper wires
- An LED and a 220 Ω resistor
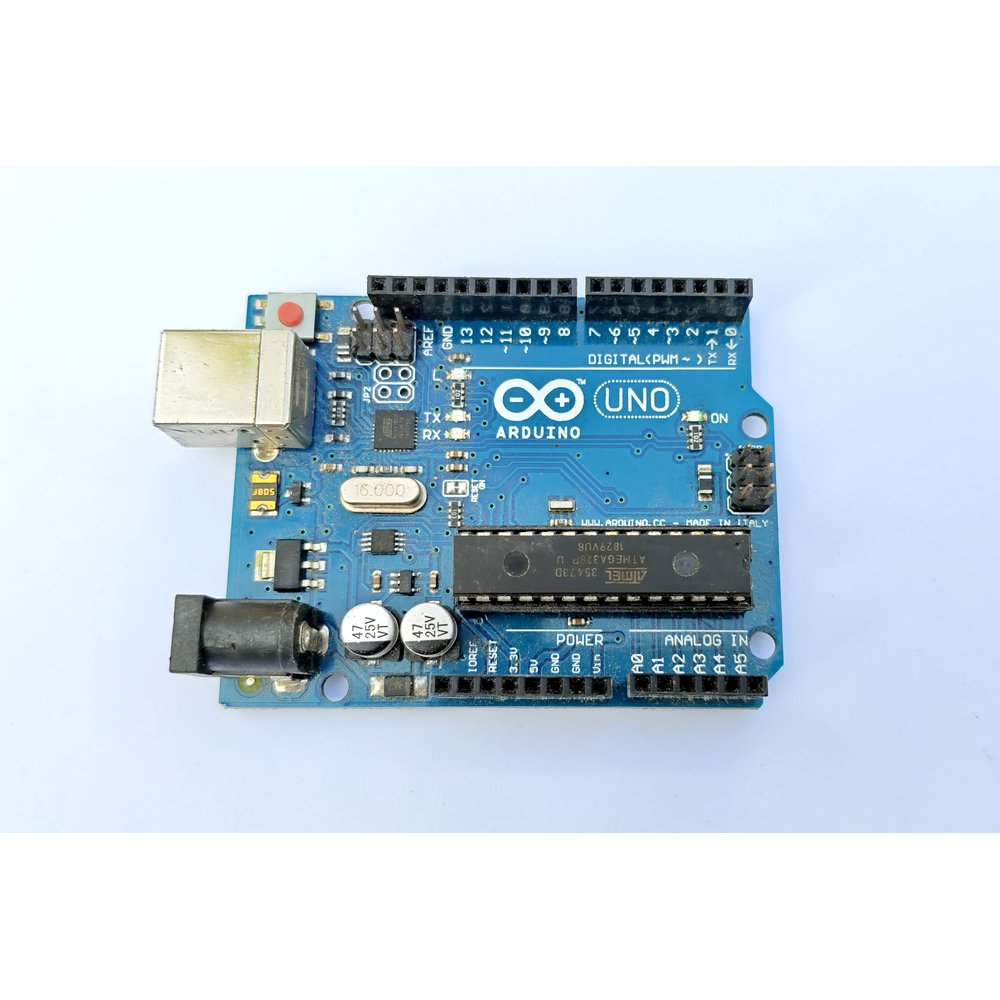
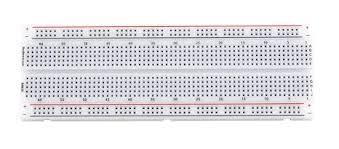
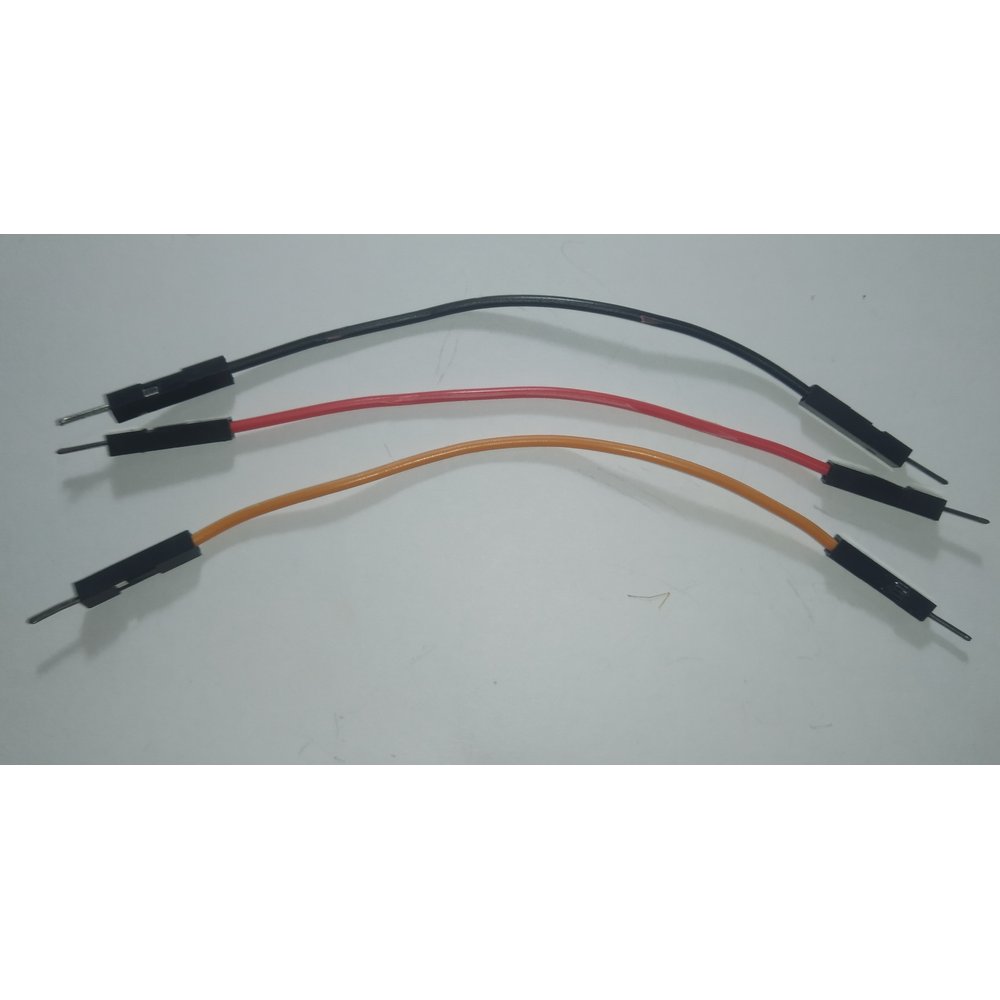
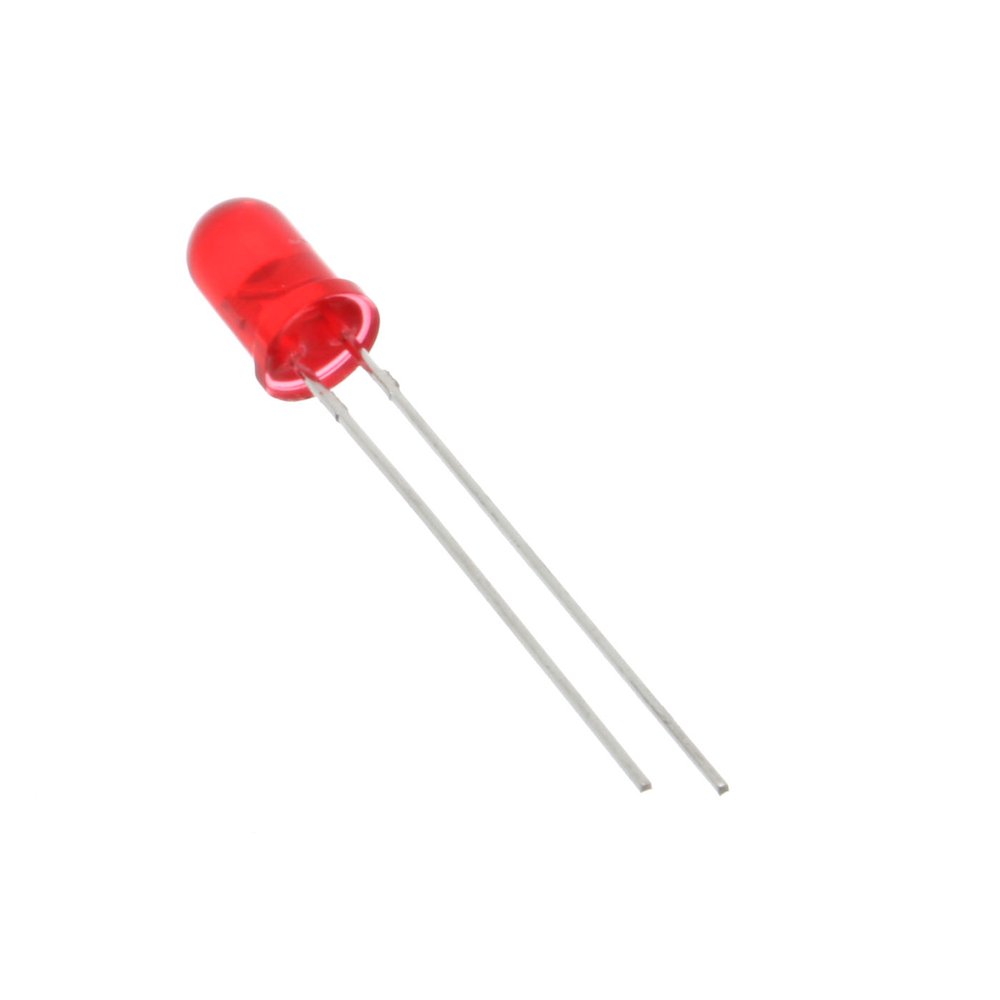

Prices can change; check Tekko for the latest.
What an Arduino simulator actually is
Three things working together:
- Virtual parts. LEDs, buttons, sensors, motors, LCDs. Each behaves like its real self; a reversed LED does not light, for one.
- A virtual circuit. You place the wires and the simulator works out the voltage at each point.
- Your code. Arduino C++ runs right in the browser, and
Serial.println()output shows up in the Serial panel.
Tekko Sim says so itself: it behaves like the real board for learning, but exact timing may differ. It is not a cycle-exact emulator. For learning that is enough, but know it going in.
Other simulators exist. Wokwi leans toward deep debugging and professional workflows. Tinkercad Circuits is free and common in schools. Both are good tools; which one you need depends on the job. What Tekko Sim adds is a Bangla interface, a layout that works on a phone, and projects matched to parts Tekko sells.
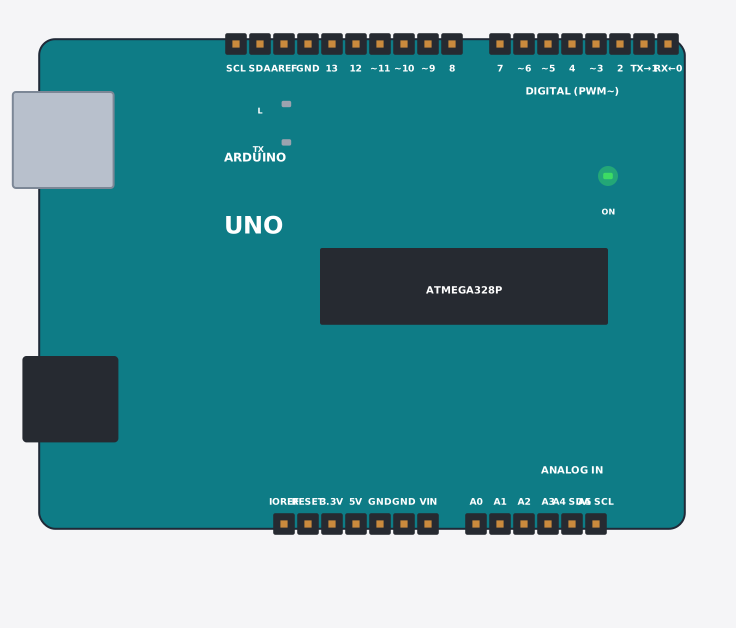
Where a simulator is enough
- Learning to wire. Wire it wrong and the simulator flags it with a "!" badge: LED reversed, short circuit, missing resistor.
- Code logic.
if,for,delay()andanalogRead()are easy to check here. - Turning sensor values. Drag a slider for light, temperature or distance and watch what your code does.
- Catching mistakes. Code errors come back as readable messages in Bangla or English.
- Choosing before you buy. Work out which sensor and which board you need before spending anything.
Tekko Sim has boards such as the Uno, Nano, Mega, ESP32, ESP8266 and Raspberry Pi Pico. Besides Arduino C++ it runs MicroPython.
Where only real hardware will do
| Topic | In the simulator | On a real board |
|---|---|---|
| Wiring and code logic | Easy to see | Needed for final testing |
| Power (servo current, batteries) | Hard to learn | A board reset shows up here |
| Sensor quirks (warm-up, drift) | Tidy values | Real values wander |
| Loose wires, dead parts | Cannot happen | Everyday reality |
| Exact timing and interrupts | Approximate | Real |
| Any library from the internet | A fixed list only | Everything runs |
The last row matters. Tekko Sim includes libraries such as Servo, LiquidCrystal_I2C, DHT, Adafruit_SSD1306, NeoPixel, WiFi and PubSubClient, but not every library on the internet. And a sketch that runs in the simulator is not guaranteed to compile in the real Arduino IDE. Press Verify in the IDE before you rely on it.
Open Tekko Sim
Go to tekko.teamzlab.com/sim. The home screen has Play, Build and Learn. Pick Build if you want to write code. A language button switches between English and Bangla.
Run a ready-made project
Do not start by building your own. Open a finished project and press Run. For example Blink: an LED that is on for a second and off for a second. There are close to 100 ready projects, from a traffic light to a smart dustbin to plant watering.
Press Stop to halt it. Open Code to see the sketch, and Serial to see what Serial.println() prints.
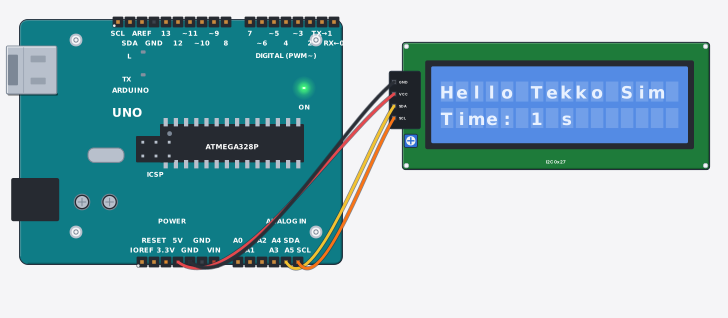
Change one thing yourself
Open Code and find the numbers inside delay(...). They are milliseconds. Set both to 200. A plain Blink sketch that drives the board's own LED looks like this:
void loop() {
  digitalWrite(LED_BUILTIN, HIGH);
  delay(200);   // change this number
  digitalWrite(LED_BUILTIN, LOW);
  delay(200);
}
Run it again. A smaller number blinks faster, a bigger one slower. That small change is the actual lesson: you edit code and watch the behaviour change.
Build your own circuit
Tap Add part (+), search for a part by name (LED, sensor, motor) and place it. To wire, tap one pin, then tap where the wire should end. Made a mistake? Undo.
Move to a real board
Once a project works in the simulator, do three things before touching hardware:
- Open the "Schematic" button. It gives you a connection table and a PNG or SVG. Wire the real board from it.
- Take the code into the Arduino IDE and press Verify.
- If you need the parts, "Get these parts" builds an order draft. Tekko staff confirm it by hand. Tekko ships inside Bangladesh only.
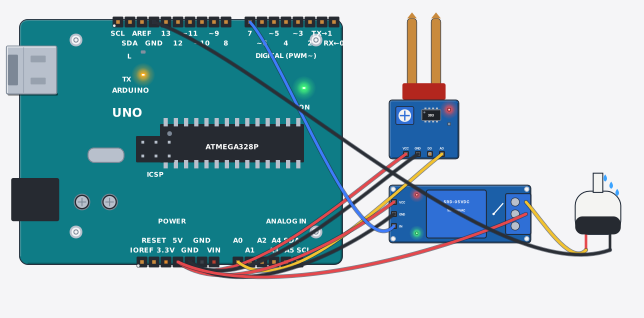
If you want one project with all its real parts together, there is the Automatic Plant Watering Kit, and its simulator version can be run beforehand.
Check it works
- Blink makes the LED turn on and off steadily.
- Changing
delaychanges the speed. - Your
Serial.println()text appears in the Serial panel.
Common problems
- LCD stays blank — the code uses address 0x3F but the LCD part is set to 0x27. Tap the part to change its address, or match the code to it.
- "SDA must go to A4…" badge — the I2C module is on the wrong pins. On an Uno, SDA goes to A4 and SCL to A5.
- LED will not light — the LED is reversed or there is no resistor. Tap the "!" badge to see the reason.
- Works in the simulator, fails on the real board — check power, loose wires and sensor values first, and whether you ran Verify in the IDE.
Questions
Is the Arduino simulator really free? The Tekko Sim website is free, with no sign-up.
Does it work on a phone? Yes. The interface is built phone-first.
Is my work saved? Projects save on that phone or browser. You can make a share link to show someone else.
Does it run ESP32? Yes, including boards with Wi-Fi.
Is a simulator as exact as a real board? No. It behaves like the real board for learning, but timing is not exact. Use the simulator to learn and test ideas, and do the final check on real hardware.
More from Tekko
- Open Tekko Sim — free, in Bangla or English
- Dev boards — Arduino and ESP32
- Not sure what to build? See 12 science project ideas
Sources
- Arduino language reference — arduino.cc
- Arduino Uno Rev3 hardware docs — docs.arduino.cc
Want it as one kit?
Automatic Plant Watering System Kit — A soil moisture sensor tells the Arduino when the soil is dry, and the Arduino switches a small water pump on through a relay until the plant has enough.
See the kitTry it free before you buy
This project runs free in Tekko Sim, right in your browser — before you spend a taka.
Arduino Traffic Light (3 LEDs) — Run in Sim