DHT11 Sensor Guide: Pins, Code and Fixing NaN
DHT11 sensor pins, 3-pin module vs 4-pin bare sensor, real datasheet accuracy vs the DHT22, Arduino code, the 2-second rule, and why you get NaN.
The first temperature and humidity sensor most people ever wire up is the DHT11 sensor: a small blue plastic box, one data wire, ten lines of code. And then the Serial Monitor prints nan and the sensor gets blamed.
Usually the sensor is fine. The problem is the wiring, the library or how fast you read it. This guide goes through the pins, what the datasheets really promise, how it compares with the DHT22, working code, and the usual causes of NaN.
What you need
- A DHT11 sensor (the 3-pin module is the easy one)
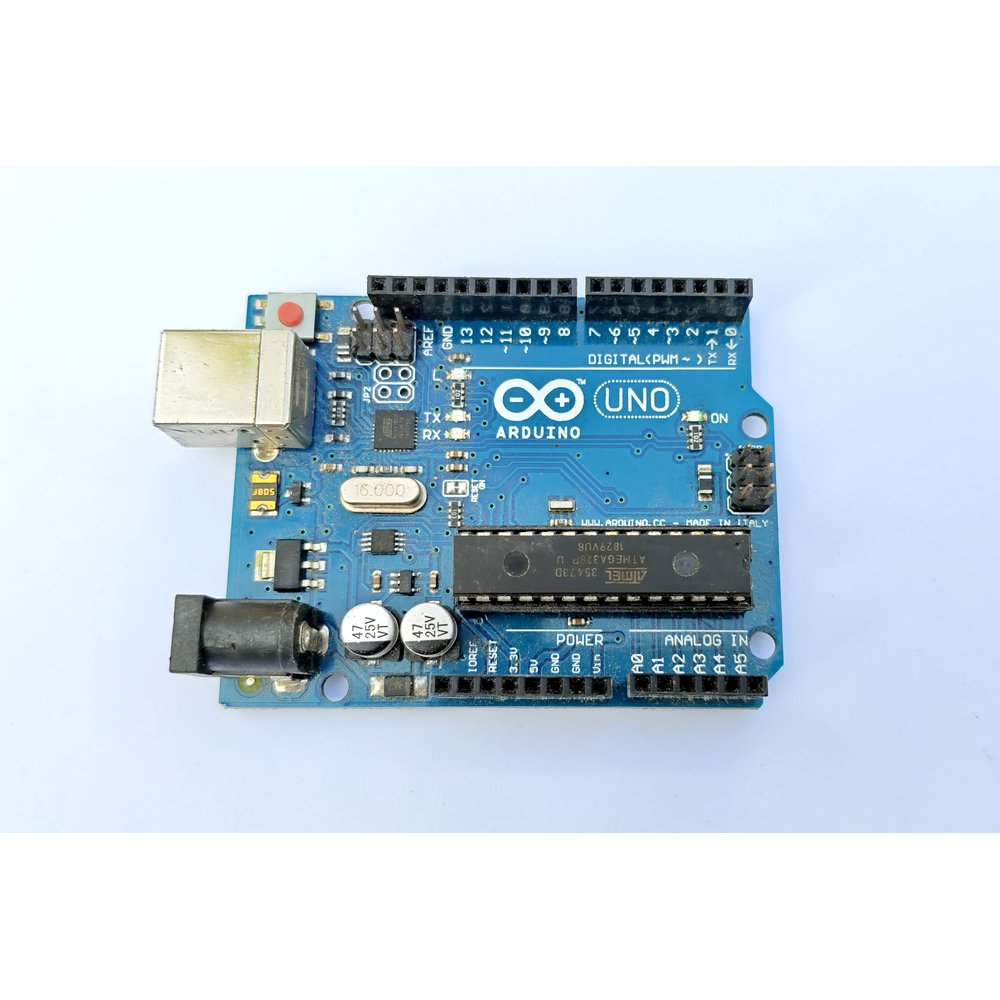
- An Arduino Uno (or an ESP32)
- Jumper wires
- A 10k resistor if you bought the bare 4-pin sensor
- In the Arduino IDE: "DHT sensor library" by Adafruit, plus "Adafruit Unified Sensor"
Prices can change; check Tekko for the latest.
Pins: 3-pin module vs 4-pin bare sensor
The DHT11 comes in two shapes.
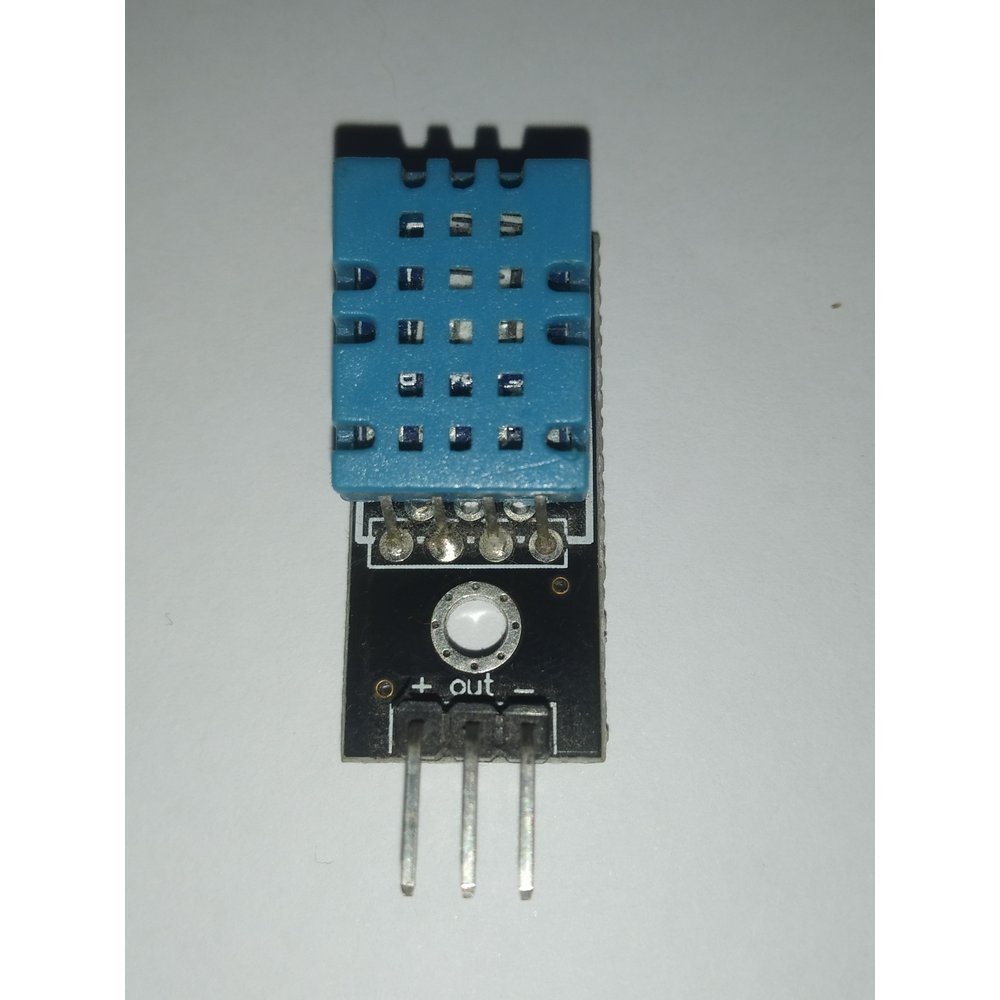
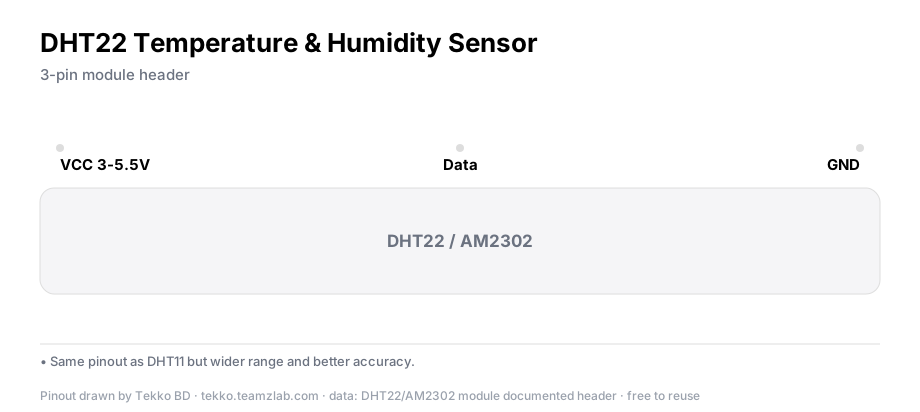
The 3-pin module. A small board with the sensor on it and three pins: VCC, Data, GND. The pull-up resistor is already on the board, so three wires and you are done. Buy this for a first project.
The 4-pin bare sensor. Pins are VCC, Data, one unused (NC) and GND. Here you must add the pull-up yourself, a 4.7k to 10k resistor between Data and VCC. Without it the data line floats, and that is behind most NaN cases.
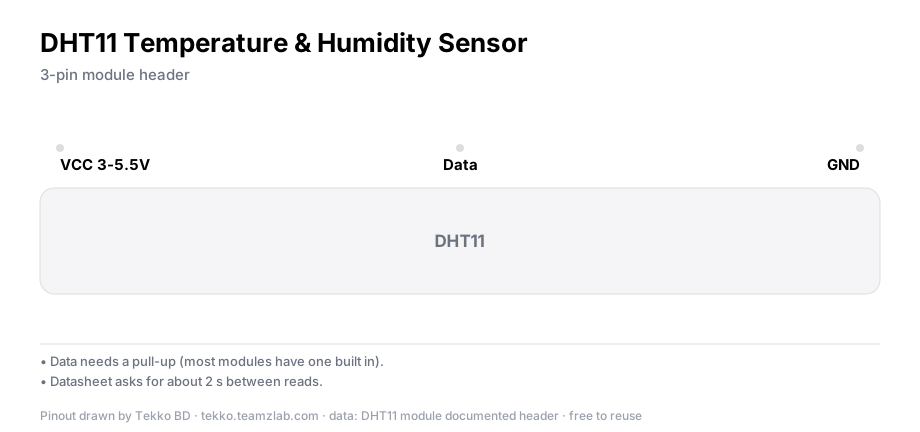
The order differs from module to module. On some the middle pin is VCC, on others it is data. Go by the markings (S or OUT, +, -), not by a photo. VCC is 3 to 5.5V, so an Uno's 5V and an ESP32's 3.3V both work.
What the datasheets actually say
The accuracy numbers come from the datasheets. Your batch may vary a little, so read the sheet once.
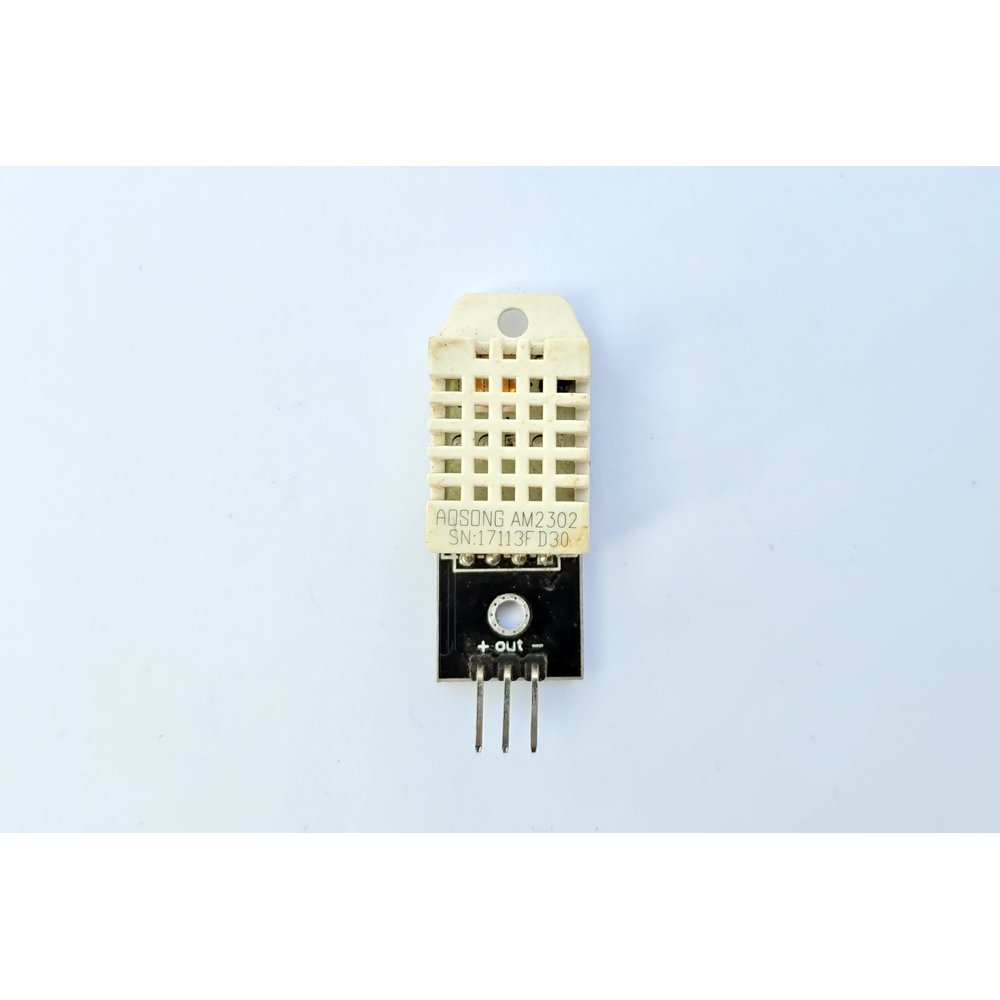
| DHT11 | DHT22 (AM2302) | |
|---|---|---|
| Temperature range | 0 to 50 °C | -40 to 80 °C |
| Temperature accuracy | ±2 °C | ±0.5 °C |
| Humidity range | 20 to 90 %RH | 0 to 100 %RH |
| Humidity accuracy | ±5 %RH | ±2 %RH (max ±5) |
| Resolution | 1 (temperature and humidity) | 0.1 |
| Reading interval | at least 1 second | 2 seconds |
The plain conclusion: for a room, for learning, for a school science fair, the DHT11 is enough. Where half a degree matters, it is not.
Take an egg incubator. The target is around 37.5 °C. With ±2 °C the true temperature can sit two degrees either side of what the sensor shows. That is too much for hatching, so use a DHT22 there. Tekko Sim has an incubator-thermostat project built on a DHT22 if you want to see it run.
Humidity has a catch too: the DHT11 is not specified above 90%. In the monsoon, humidity outdoors or in a closed room can climb close to that, and you should stop trusting the DHT11's number there.
Wiring
For a 3-pin module and an Arduino Uno:
- Module VCC to Arduino 5V
- Module GND to Arduino GND
- Module Data to pin 2
With a bare 4-pin sensor, add the 10k resistor between Data and VCC.
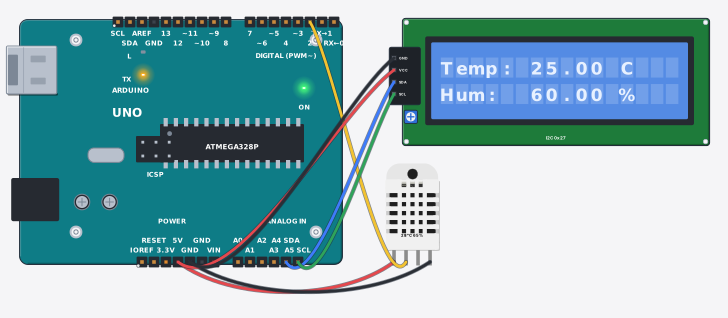
That simulator project uses a DHT22. With a DHT11 you change a single line of code, shown next.
The code
From the Library Manager install "DHT sensor library by Adafruit" and "Adafruit Unified Sensor".
#include <DHT.h>

#define DHTPIN 2
#define DHTTYPE DHT11     // write DHT22 here for a DHT22

DHT dht(DHTPIN, DHTTYPE);

void setup() {
  Serial.begin(9600);
  dht.begin();
}

void loop() {
  delay(2000);                       // give the sensor time
  float h = dht.readHumidity();
  float t = dht.readTemperature();   // Celsius

  if (isnan(h) || isnan(t)) {
    Serial.println("DHT read failed: check wire and pin");
    return;
  }

  Serial.print("Temp: ");
  Serial.print(t);
  Serial.print(" C  Hum: ");
  Serial.print(h);
  Serial.println(" %");
}
The delay(2000) is deliberate. The DHT11 datasheet asks for at least 1 second between reads, the DHT22 for 2. Using 2 seconds for both means you never have to remember which is which. Read faster and you get the previous value or NaN.
Verify it works
Open the Serial Monitor at 9600 baud. A line should appear every 2 seconds, like Temp: 28.00 C Hum: 64.00 %. With a resolution of 1 the decimals will always be zero on a DHT11, and that is correct. Cup your palm around the sensor and both numbers should climb within a few seconds.
Why you get NaN
nan means "not a number": nothing could be read from the sensor. Almost always it is one of these:
- Loose data wire, or the wrong pin. The code says
DHTPIN 2and the wire is on pin 3. Very common. - No pull-up on a 4-pin sensor. Add 4.7k to 10k between Data and VCC.
- Reading too fast. Anything quicker than
delay(2000)can give NaN. - VCC and GND swapped. Pin order varies between modules, so match the printed marks. Reversed power can overheat and kill the sensor, so recheck the marks before you power up.
- Wrong type. Bought a DHT22 but wrote
DHT11in the code (or the reverse): NaN or odd numbers. - Too long a wire. The longer the wire, the weaker the signal. Test with a short jumper first, then lengthen.
Where it fits in a Bangladeshi home
- Room or classroom monitor: a DHT11 and an LCD showing temperature and humidity. A good way to measure how fast a room heats up after load-shedding ends.
- Science fair: measure the humidity difference between a dry-season room and a monsoon room. One sensor and the Serial Monitor are enough.
- Poultry shed or incubator: use a DHT22, for the reason above. Holding the temperature means switching a bulb through a relay, and that is in the relay module guide. Run the incubator thermostat in Tekko Sim first.
Common problems
- Readings wander by a degree or two. Normal. ±2 °C is in the datasheet. If you want to match two thermometers, buy a DHT22.
- Higher readings in sunlight or next to a stove. The sensor is measuring its own heat. Put it in shade with some air movement.
- The value does not change. The sensor makes a new reading once every 2 seconds; read it sooner and you get the old one again. That is not a fault.
- Occasional NaN on an ESP32. Keep the wire short, check the pull-up, and do not read faster than every 2 seconds.
FAQ
How accurate is the DHT11? Per the datasheet, ±2 °C for temperature and ±5 %RH for humidity. Fine for a room, not for an incubator.
DHT11 or DHT22? DHT11 for learning and rooms. DHT22 below 0 °C, above 50 °C, or when you need accuracy in the half-degree range. It costs more, but for an incubator it is the sensible choice.
Do the two need different pins or code? No. Same pins; change only DHTTYPE in the code.
Does it work with an ESP32? Yes. Power it from 3.3V and use any ordinary GPIO. The library is the same.
More from Tekko
- Sensors category: DHT11, DHT22 and more
- Dev boards: Uno, Nano, ESP32
- Run it free first: weather station in Tekko Sim
- To switch a load from a reading: relay module guide
Sources
- DHT11 Technical Data Sheet (Aosong): ranges, accuracy, reading interval
- AM2302/DHT22 datasheet (Aosong, hosted by Adafruit): ranges, accuracy, reading interval
- Adafruit DHT sensor library: github.com/adafruit/DHT-sensor-library
Try it free before you buy
This project runs free in Tekko Sim, right in your browser — before you spend a taka.
DHT11 / DHT22 Arduino Weather Station with LCD — Run in Sim